Combed Macrame Wall Hanging Tutorial
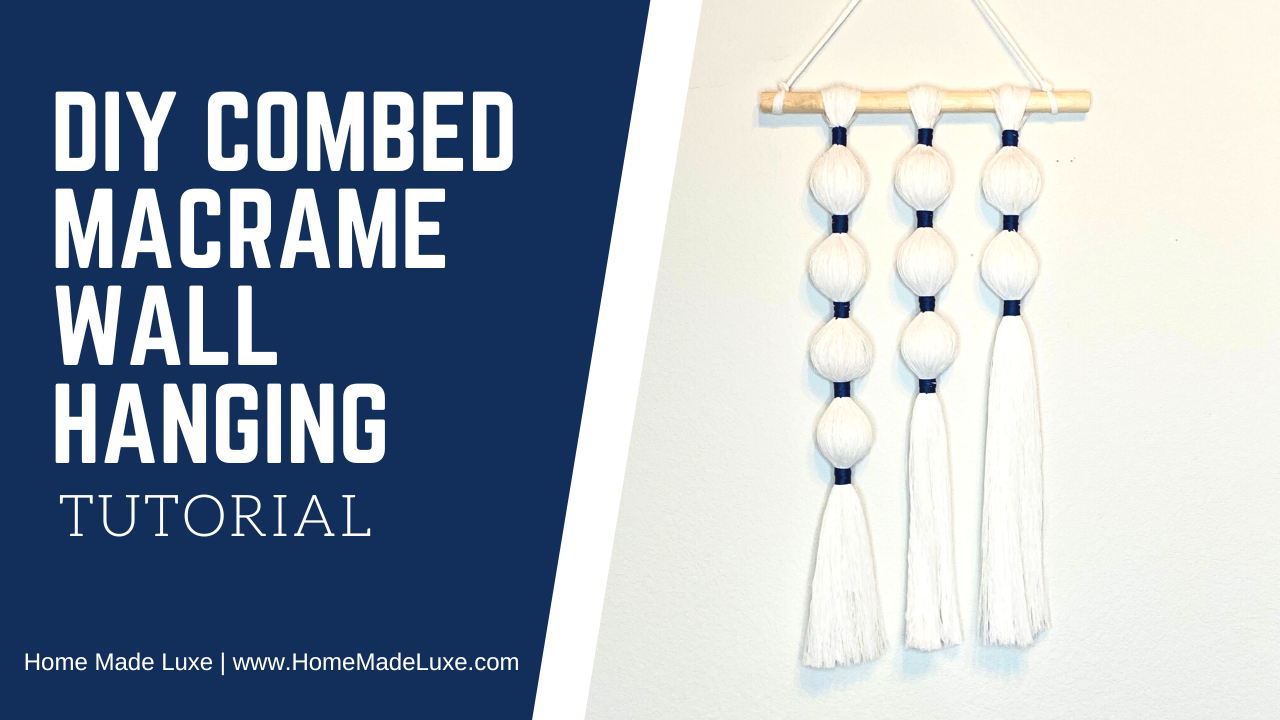
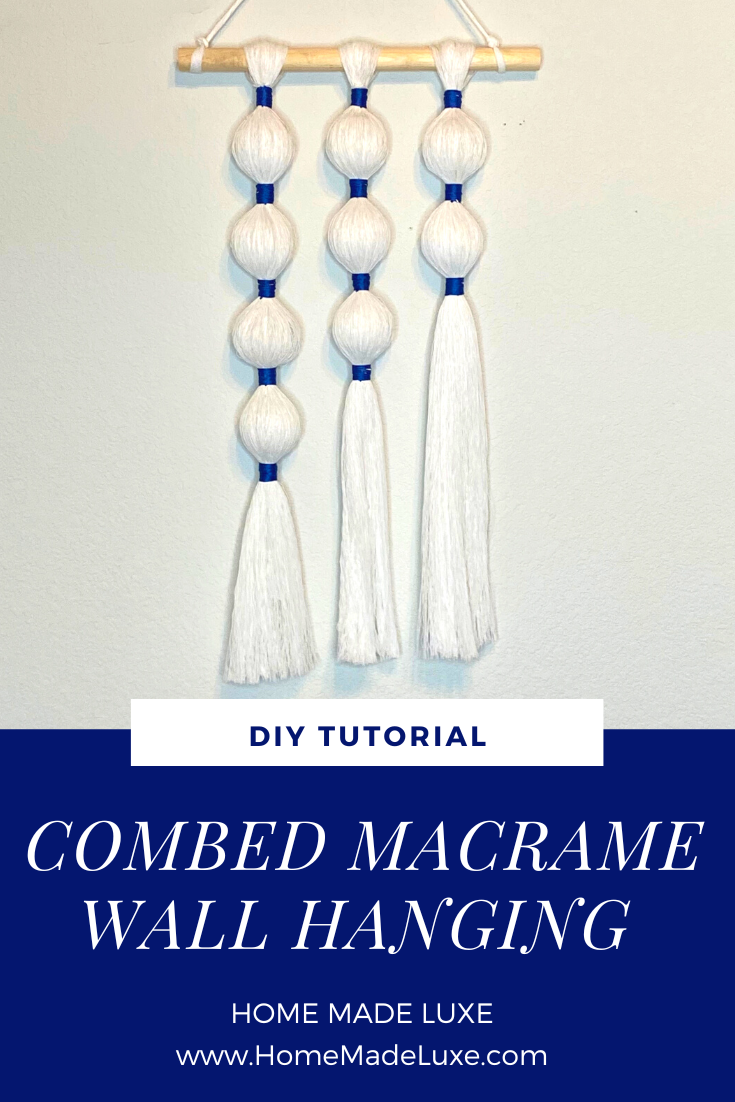
Looking for a fun and creative activity to pass the time? Look no further than this Combed Macrame Wall Hanging tutorial. In this blog post we will show you just how to create a combed macrame piece then you can customize the design to your liking.
If you're looking to make this even easier you can grab all the materials for this craft here with our Combed Macrame Wall Hanging Craft Kit. This kit contains everything you need to create a stunning piece of macrame wall art, including an instruction booklet with easy-to-follow steps.
Whether you're looking for a relaxing hobby or a unique gift for a craft-loving friend, our Combed Macrame Craft Kit is sure to impress. Order yours today and unleash your inner artist!
Materials Needed:
Home Made Luxe DIY Combed Macrame Wall Hanging Craft Kit
or
- Macrame Cord
- Wood Dowel
- Embroidery Floss
- Fabric Stiffener
- Foam Balls
- Scissors
- Comb
- Pet Brush
- Screwdriver
DIY Combed Macrame Wall Hanging Tutorial Video:
DIY Combed Macrame Wall Hanging Tutorial
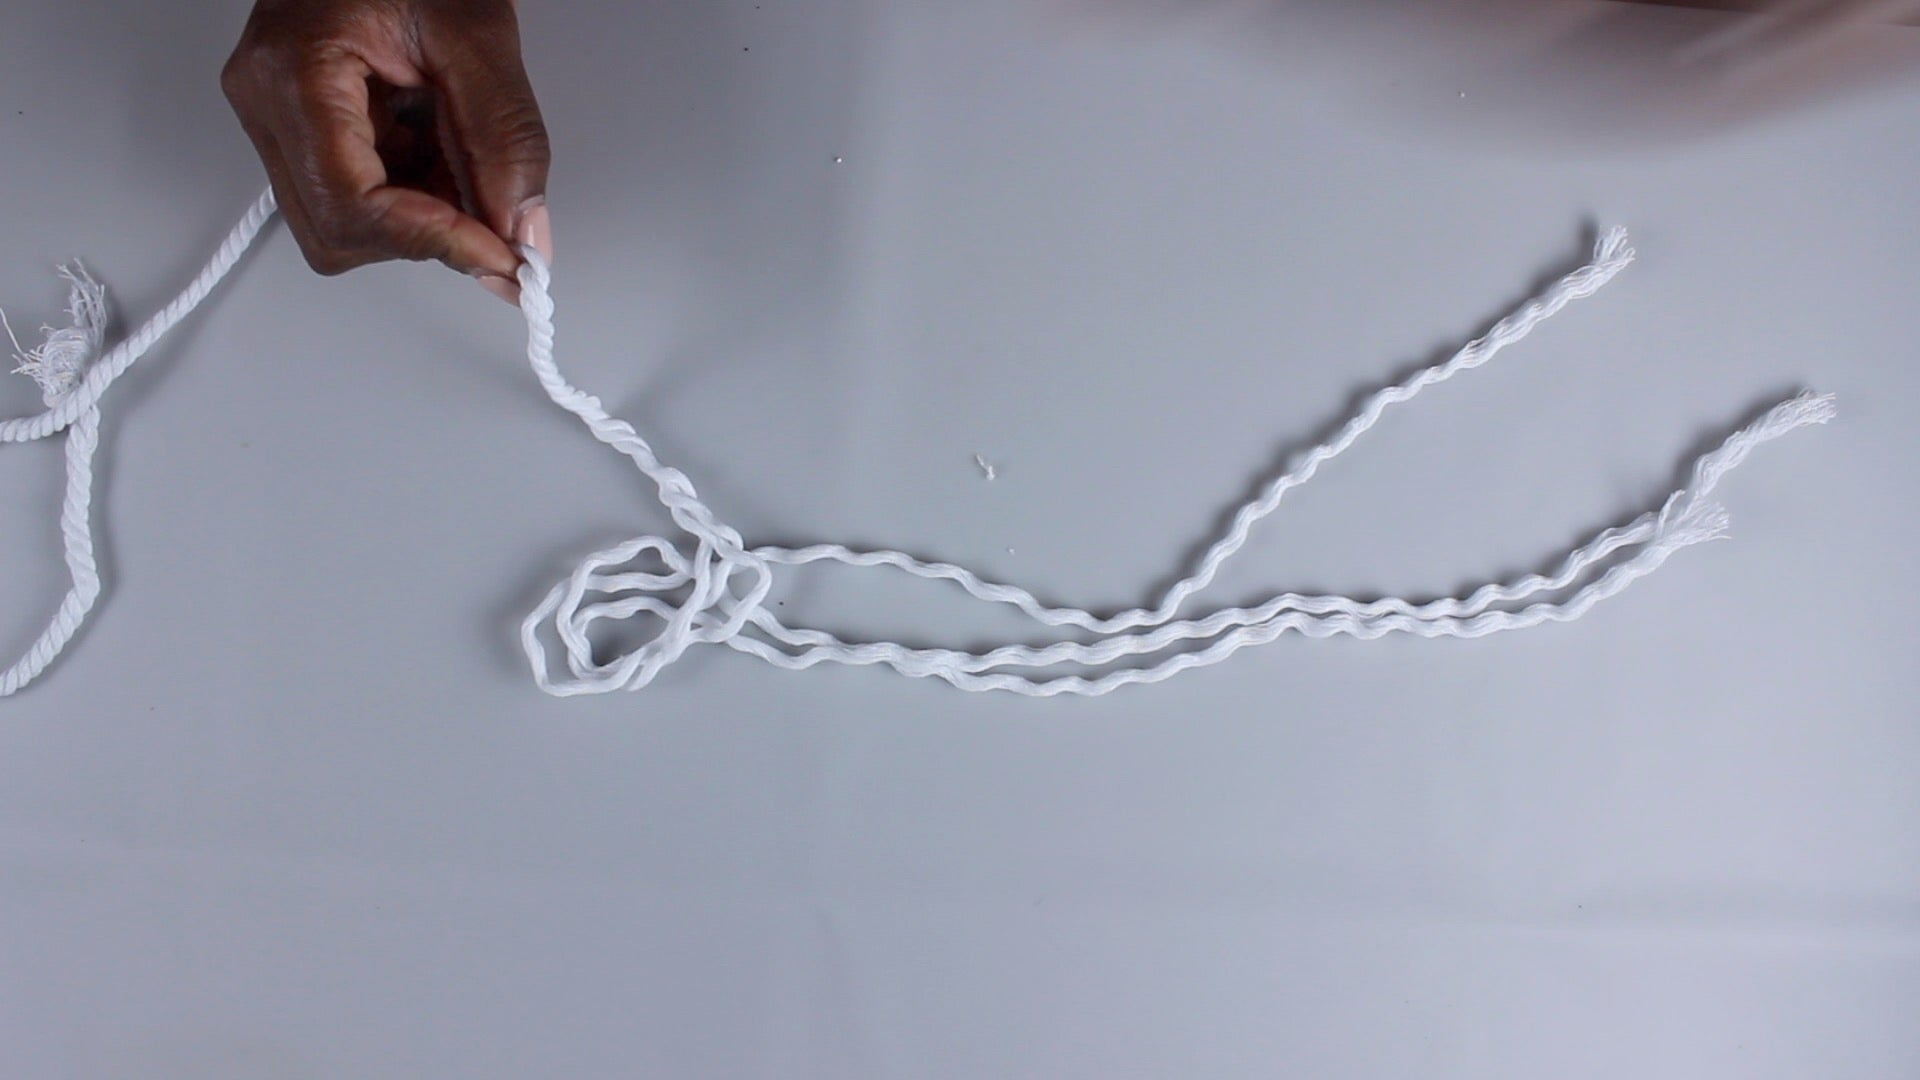
1) Cut macrame cord into 10 60" pieces. Set 3 cords to the side and do not unravel them. Unravel other pieces of yarn into the 3 separate cords. Dip each separated cord into the fabric stiffener.
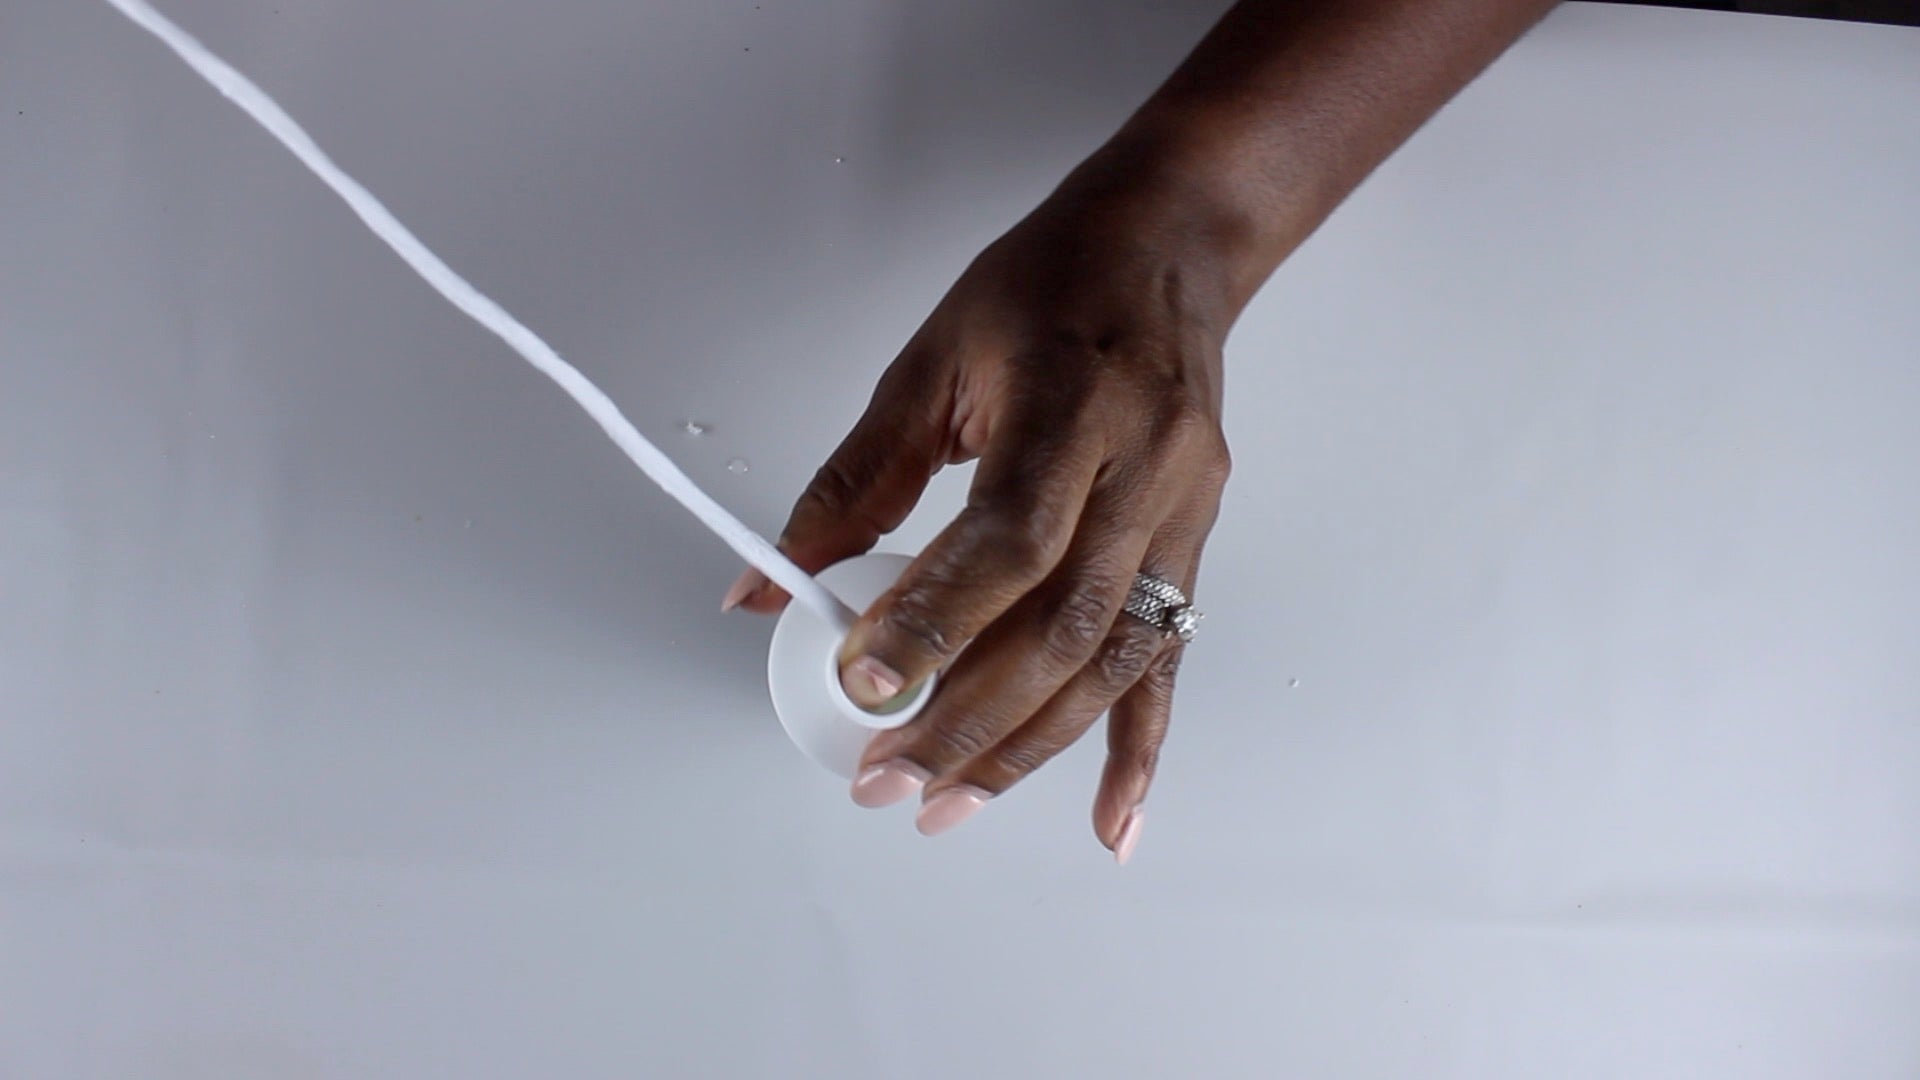
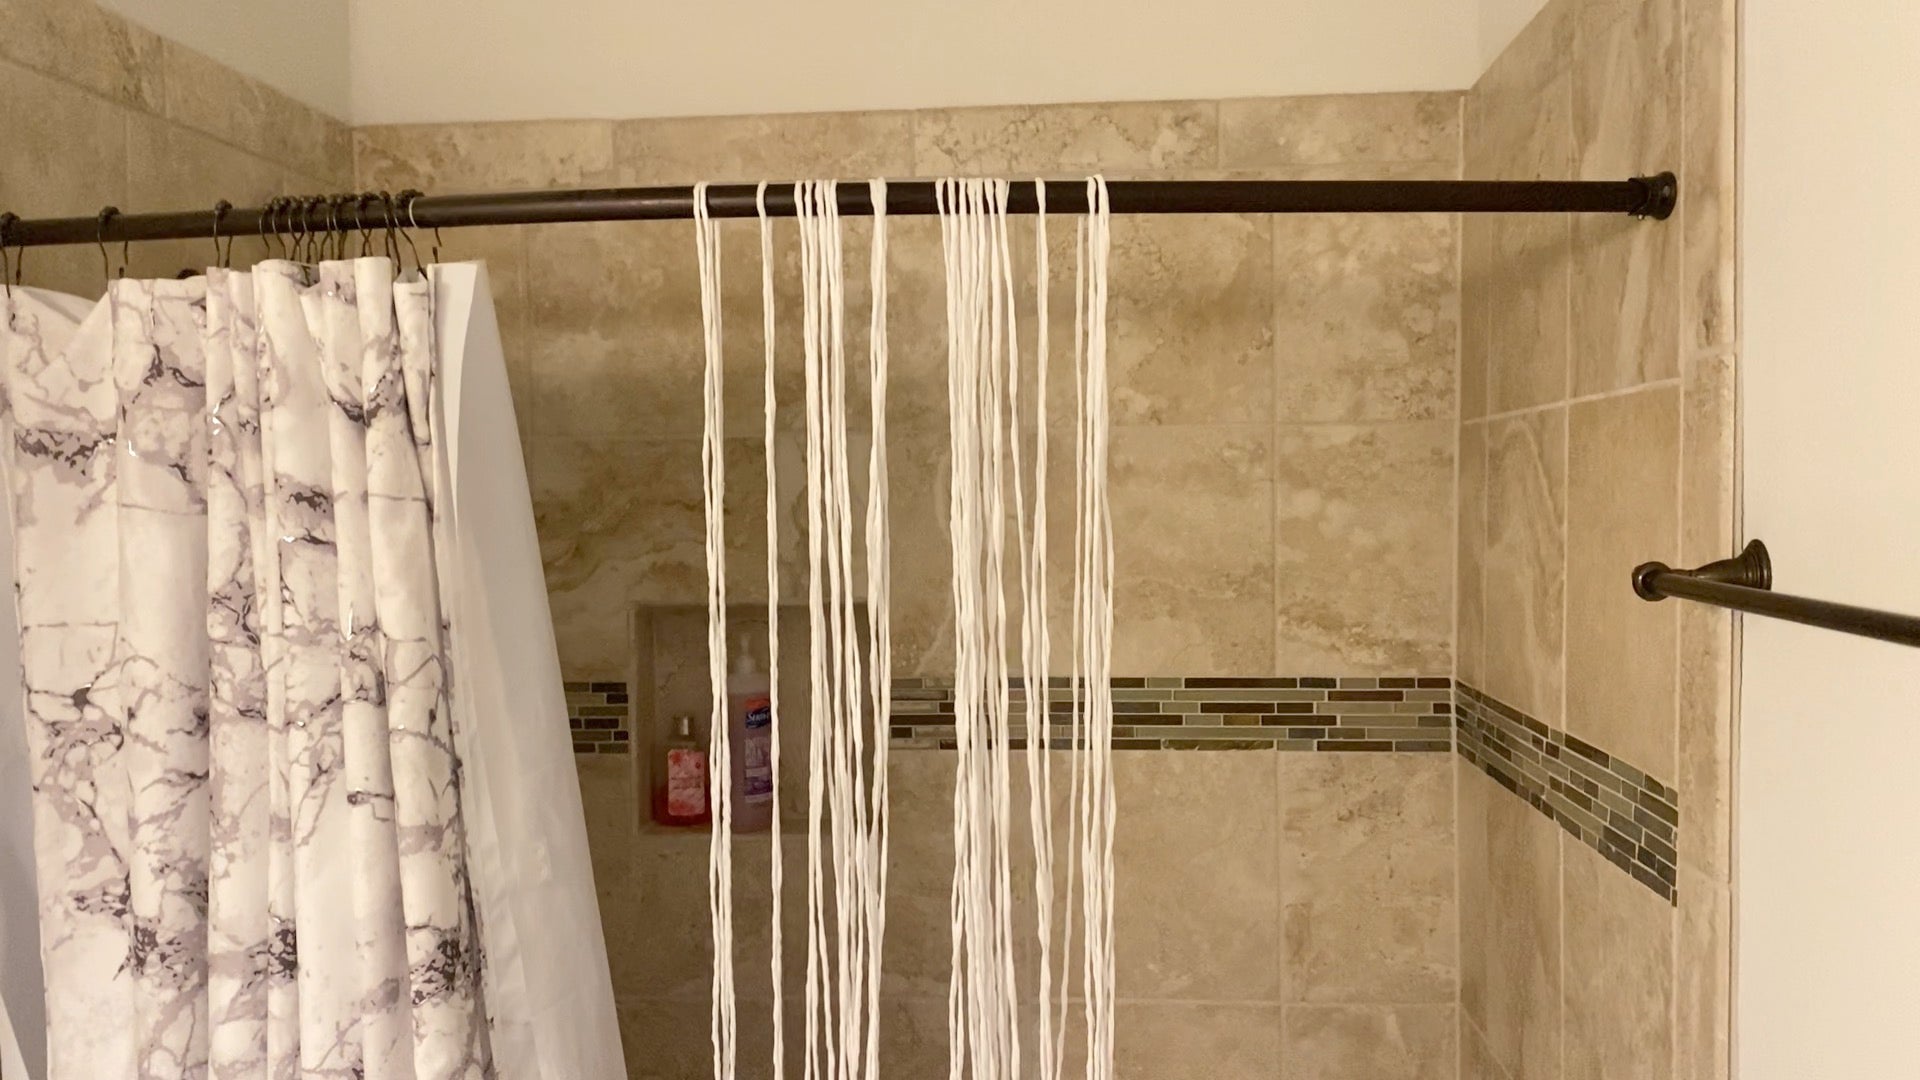
2) Place your finger over the yarn at the opening as you pull the cord out to squeeze excess stiffener out. Hang wet strands of yarn over a shower curtain rod to dry about an hour but best overnight.
3) Once dry and while still hanging, start at the bottom with combing your cord out. use your fingers to separate any tangles. Use the brush to further detangle. Combine 6 of the cords together & brush

4) Hang your wood dowel (i used a hook on the back of a door) and add one of the pieces of the still twisted cord to the dowel with a larks head knot.
5) Combine 6 of the combed cords into a bunch and brush together. Place bunch on top of the twisted cord and use a short piece of unraveled cord to tie a knot to secure right below the dowel. Trim ends.
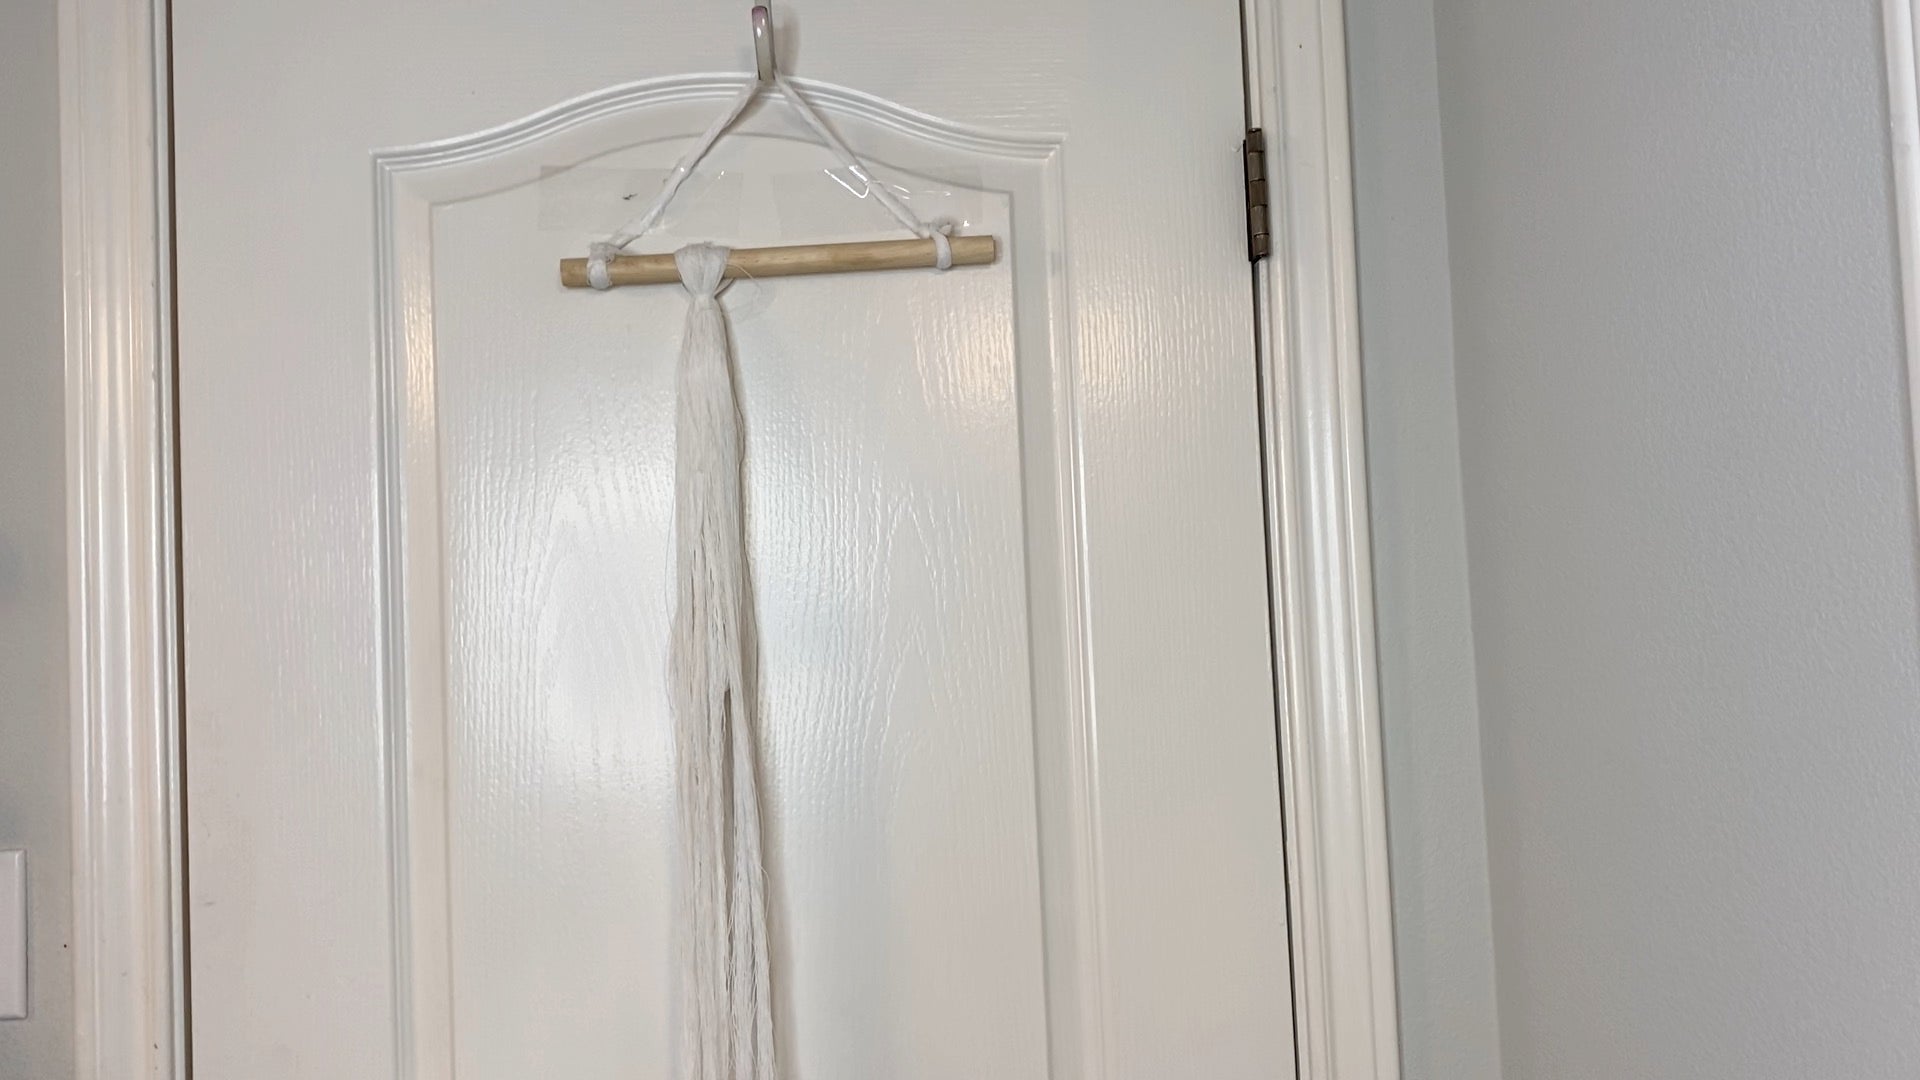
6) Use a gathering knot to add embroidery floss to the top and trim ends. Make the section of floss as wide as you wish. Use a screwdriver to create a large hole in each of the styrofoam balls.


7) Push the twisted cord through hole in foam ball & push up under floss. Smooth combed macrame around the ball combing as needed. Tie a knot under the ball to secure with a small piece of yarn.


8) Repeat process with embroidery floss & foam balls in your desired design. Once complete. Trims combed ends into a straight line.




Leave a comment