DIY Christmas Tree String Art
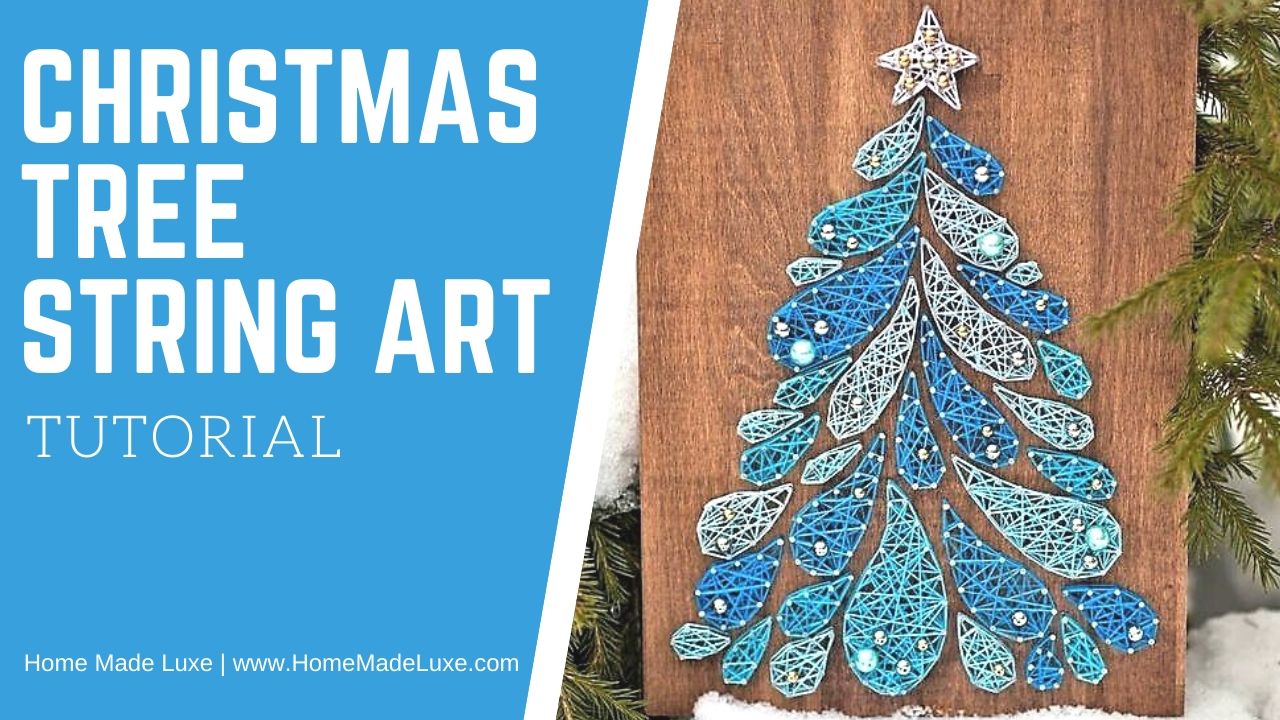
This is a Home Made Luxe craft subscription box project, which means you can purchase this as a craft kit here! The craft kit contains all the materials you need below to this string art project. That's right no craft store nightmare trying to find all these materials just grab the craft kit you won't be sorry!
Materials Needed:
Home Made Luxe DIY Christmas Tree String Art Craft Kit
-
Wood Plaque
-
Wood Stain
-
Nails
-
Dark Blue Embroidery Floss
-
Medium Blue Embroidery Floss
-
Light Blue Embroidery Floss
-
Pliers
-
Foam Brush
- Chalk
- Christmas Tree Template
- Hammer
- Scissors
DIY Christmas Tree String Art Video Tutorial
DIY Christmas Tree String Art Tutorial
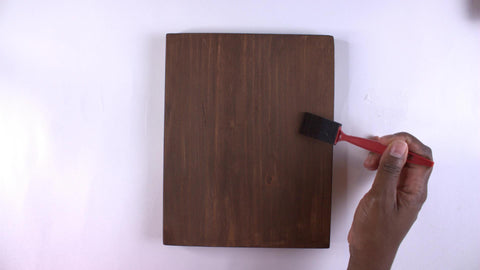
1) Paint your wood plaque with the walnut stain provided.
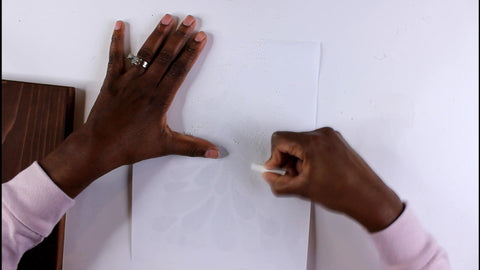
2) Take christmas tree template and cover the back (the non printed side) heavily with chalk.
3) Turn the template back over and place on the wood (printed side up). Be sure to center the tree on the plaque
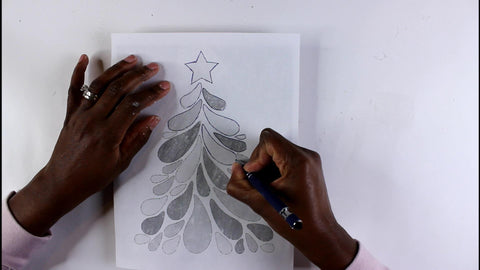
4) Use a pen to trace every line of the template. Be sure to apply enough pressure that the chalk will adhere to the wood. Lift up the template to reveal the chalk outline on your wood.

5) Starting from the top of the tree, add nails to the first section (the star) to outline. Use your pliers to hold the nails while you hammer.
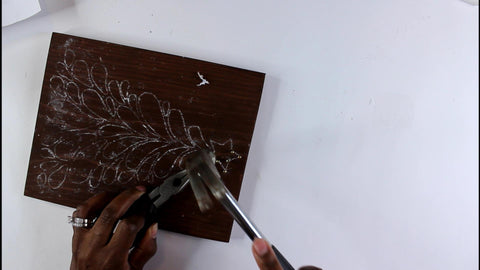
6) After adding nails to each section, add the colored floss according to the template & finish that section before moving to the next. Start with tying the floss in a knot onto a nail to secure.
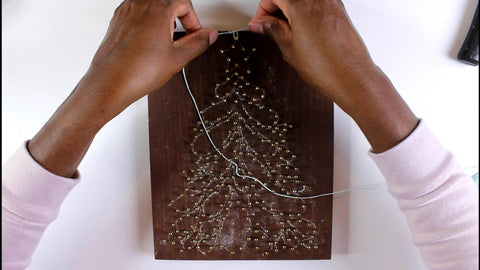
7) Once secured, use floss to outline the section by winding floss around each nail in the section. Once outlined begin stringing inside of the section to cover as much as of it as possible.
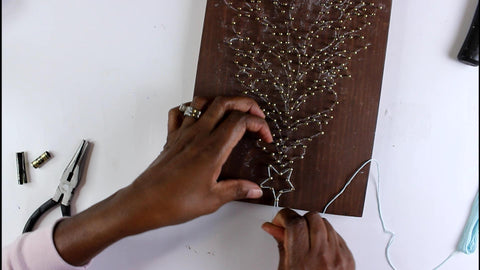
8) Keep string snug and tie a knot on the final nail to secure. Cut excess and tuck under the section to hide. Continue the process of nailing and stringing each section until completed.

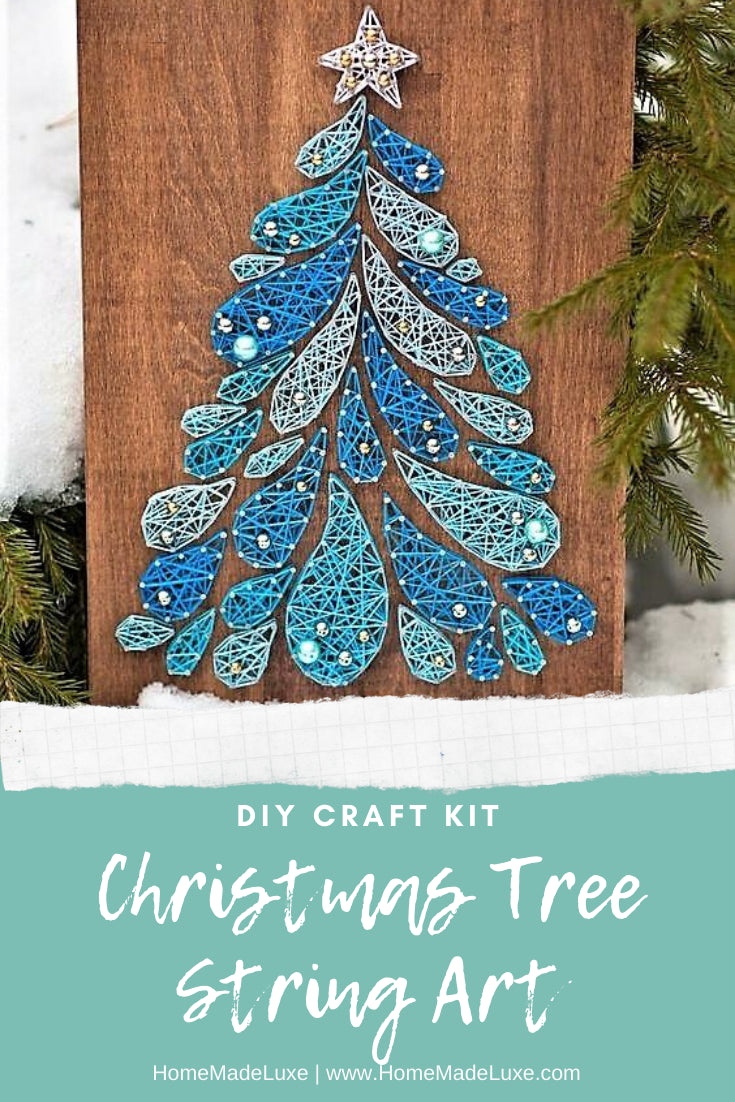


This is so beautiful!
Leave a comment