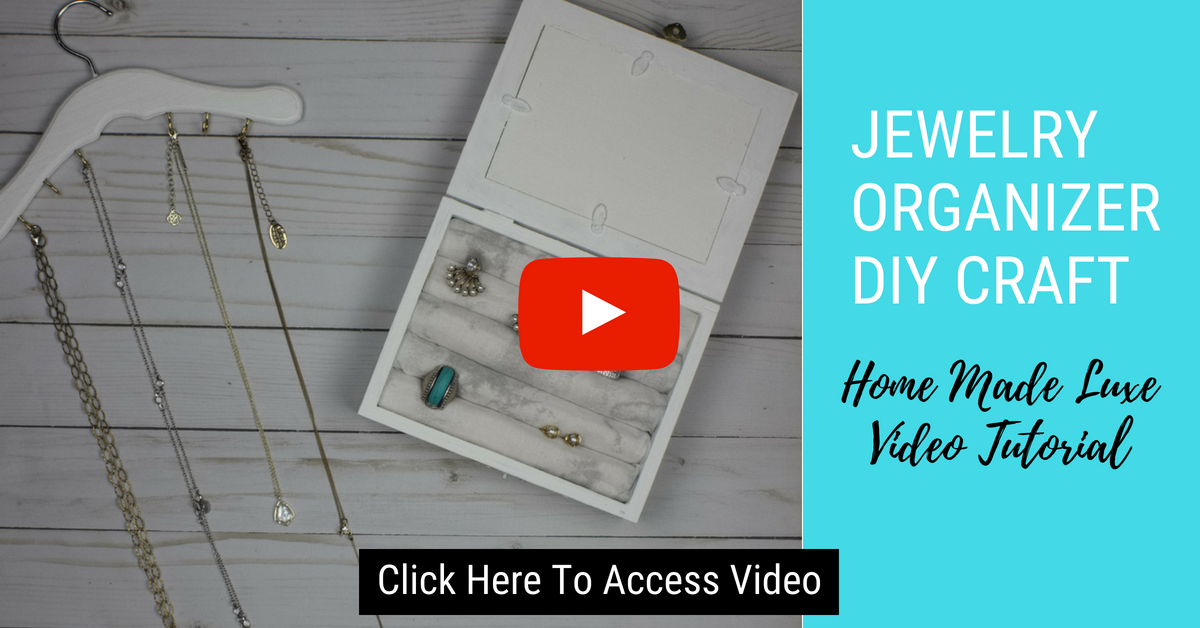
How To Make A Jewelry Organizer Craft

Have you ever gotten dressed, checked yourself out in the mirror, thought about that perfect piece of jewelry that would finish off your look, only to go to look for it and you can't find it? Often times our fun pieces find themselves jumbled together in a pile making it very hard to see them when you are in a pinch for time. Sometimes jewelry is even forgotten about at all. Time for some ORGANIZATION of our jewelry ladies!
This craft kit gives you two projects in one. With this craft, you can have two completely different ways to organize and display your jewelry. One is a beautiful jewelry hanger that can be hung like a piece of functional art. The other project is a photo jewelry box that can be an everyday reminder of a loved one.
No need to put yourself through the agony of deciding which organizer to make. Keep reading for a complete list of items needed for both projects. Save yourself the headache of shopping for each item and grab the 2 for 1 complete Home Made Luxe Jewelry Organizer Craft Kit here
JEWELRY ORGANIZERS CRAFT INSTRUCTIONS
Home Made Luxe Jewelry Organizers Craft Kit
or
- (1) Picture Frame Box
- (1) Hanger
- Gold Hooks
- Felt
- Fabric
- Paint and Paint Brushes
- Scissors
- Ruler
- Personal
Jewelry Organizers Craft Kit
1. Paint the picture frame box in your desired color combination. We recommend white with gold accents. Let dry.

2. Measure the shorter side of the felt to the width of the inside of the box and trim so the width is the same. Use first felt as a guide to cut all the felt.

3. Tightly roll each felt piece and place into the box side by side. Trim the fabric to the width of the box creating a long strip of fabric. Iron fabric strip.

4. Remove first felt roll and put about 1 inch of fabric in wrong side down into box. You may glue to box if desired. Lay first felt roll back on top.

5. Tuck fabric between each roll of felt, being sure to push fabric all the way to the bottom between each roll for a tight, secure fit. Smooth fabric as needed.

6. Trim the end as needed on the final tuck. Add your personal picture to the frame or leave frame opening open. Organize rings or stud earrings as desired.

7. Paint hanger in desired color combination. We recommend white with gold accents such as strips or polka dots. Let dry.

8. Add three hooks on either side of the bottom of the hanger by screwing directly into the wood. Hang necklaces, bracelets or earrings from the hooks.


Leave a comment