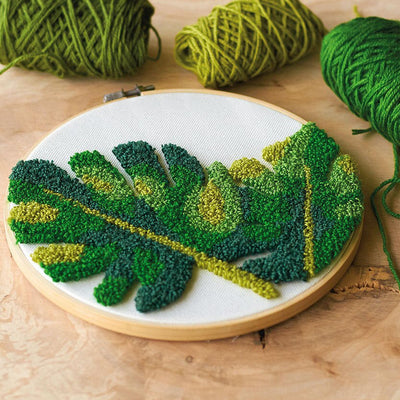
DIY Latch Hook Wall Hanging

The most exciting part of this is the process. You can mix and match or even experiment with any color you want to create.
This is a Home Made Luxe craft kit project, and everything you need to create this kit is in the kit! or head to the craft store and find the below materials. i
Materials Needed:
Home Made Luxe Latch Hook Wall Hanging Craft Kit
or
- Latch Hook Rug Canvas Mesh
- Yarn in 5 Assorted Colors
- Latch Hook
- Glue Stick
- Felt
- Sharpie
- Glue Gun
- Scissors
- Comb
- Brush
DIY Latch Hook Wall Hanging (video):
DIY Latch Hook Wall Hanging Tutorial
1) Decide on a design for your hanging, you can be creative as you go or use a sharpie to draw a design on your mat. The bottom should have longer strands of yarn & get shorter as you get to the top.

2) Cut desired color yarn strands 12" long & start with bottom row. Fold the yarn in half & slip the hook through the middle of the loop. Once yarn is at bottom of tool, make sure the latch is open.

3) Push your latch hook up underneath the first square in the row and push the hook until the latch sits above the bottom line of the square. Pull the yarn up and to the left.

4) Pull the yarn to the right, between the latch and the hook, and then wrap it around the back of the hook.

5) Keeping holding the yarn in your left hand & pull the latch hook tool down with your right hand until the latch closes. Continue pulling the latch hook through the square to create your knot.

6) For longer sections you can do every other square to save on yarn & time. Continue adding sections in different colors and different lengths.

7) Cut sections with a straight or wavy edge, or cut very short for a pile look. You can also change the texture of the yarn by unraveling the strands with a comb or brushing out the strands of yarn.

8) Once finished, add yarn to top for hanging and use hot glue to fold the top over. Add felt to the back to finish and cut excess as needed. Post your creation online & tag @homemadeluxe.


Leave a comment