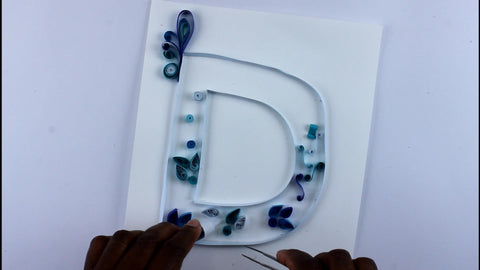
Paper Quilled Monogram Letter Tutorial

Learn the art of paper quilling with this Paper Quilled Monogram letter craft kit.
Grab this craft kit Here (all materials you need for this project are in the kit) =>
This is a Home Made Luxe craft subscription box project, which means you can purchase this as a craft kit here! That's right no craft store nightmare trying to find all these materials just grab the craft kit.
Check out the easy steps below as well as the quick video tutorial for this super fun DIY Paper Quilling Monogram Letter.
Materials Needed:
Home Made Luxe DIY Paper Quilled Monogram Letter Craft Kit
or
- Quilling Paper (1/4")
- Slotted Quilling Tool
- Quilling Tweezers
- Detailed Scissors
- Glue Pen
- Cardstock
- Pencil
- Eraser
- Frame (Optional)
DIY Paper Quilled Monogram Letter Video Tutorial:
Another one of our favorite quilling tutorials from genius crafter Annigen Creates
DIY Paper Quilled Letter Tutorial
1) Trace the letter or letters of your monogram onto your cardstock with a pencil. You may print out the letter from HERE for your reference if it is your preferred font.


More from:
paper quilling

Leave a comment