DIY Sun Hat Spring Wreath
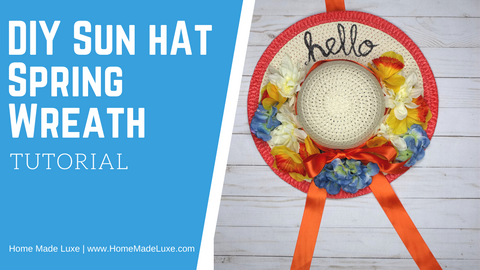
This is a Home Made Luxe craft subscription box project, which means you can purchase this as a craft kit here! That's right no craft store nightmare trying to find all these materials just grab the craft kit !
Check out the easy steps below as well as the quick video tutorial for this super fun DIY sun hat spring wreath!
Materials Needed:
Home Made Luxe DIY Sun Hat Spring Wreath Art Craft Kit
or
DIY Sun Hat Spring Wreath Video Tutorial:
DIY Christmas Tree String Art Tutorial
1) Remove ribbon from hat (this may require cutting). Then add your included ribbon by hot gluing it to the base of the hat and tying a knot.
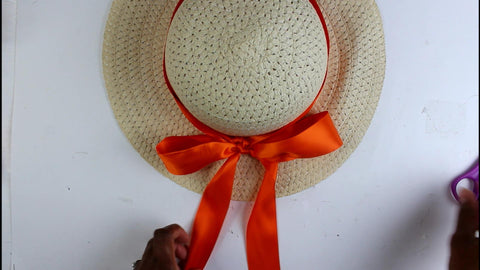
2) Create a bow with two long tails. Cut the tails into a v to create a nice finish.

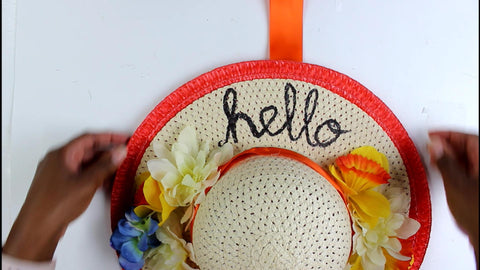
3) Lightly write your word on the top of the hat across from the bow. Possible words are: Hello, Hello Spring, Hello Sunshine, Welcome, Home Sweet Home, Blessed, or even your last name!

4) Once you get the word as you like, fill in to desired thickness. Pull flower heads and leaves off of their stems. This is easily done, they will pop right off.
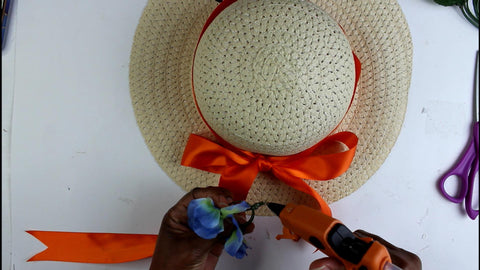
5) Arrange the flowers around the brim of the hat until you like the arrangement, then hot glue to hold flowers in place. Add leaves to arrangement if desired.
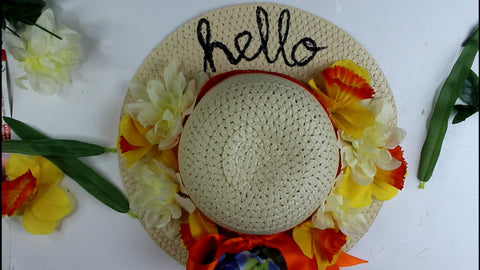
6) Arrange the flowers around the brim of the hat until you like the arrangement, then hot glue to hold flowers in place. Add leaves to arrangement if desired.
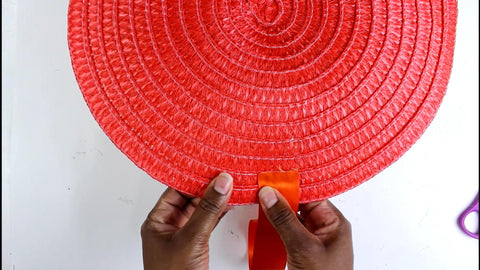
7) Cut 12 inches of ribbon, fold in half and glue together to create a loop. Glue this loop to the back of the hat or placement. Be sure to center loop above your text.
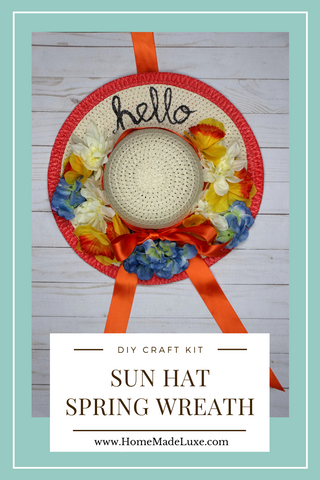
8) Hang and enjoy your unique Spring Wreath! Don't forget to post it on social media so we can see your creation (tag us @homemadeluxe).


Muchas gracias. ?Como puedo iniciar sesion?
wHxEMSsJkn
KPViChAQlWD
TSJqXpnWjui
IQdHruFPRCxv
Leave a comment