DIY MARBLED CLOCK
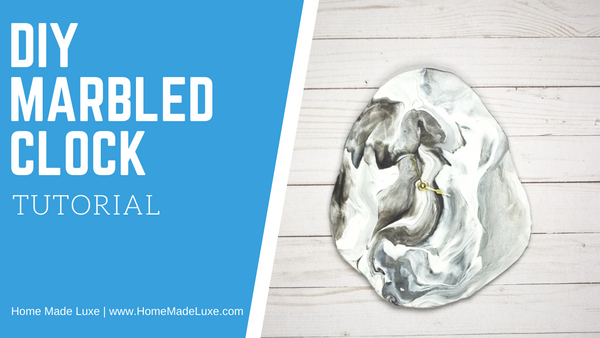
This is a Home Made Luxe craft subscription box project, which means you can purchase this as a craft kit here! The craft kit contains all the materials you need below to this string art project. That's right no craft store nightmare trying to find all these materials just grab the craft kit you won't be sorry!
Materials Needed:
Home Made Luxe DIY Marbled Clock
DIY Marble Clock Video Tutorial
DIY Marbled Clock Tutorial
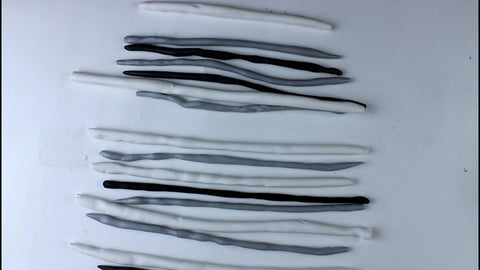
1) Start by working small sections of clay in your hands (separately) to soften them up. Then roll into long rope shapes. The silver & black ropes should be thinner than the white.
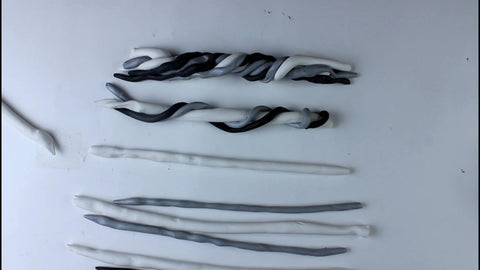
2) Combine all the ropes into one big rope by twisting the ropes together. Roll the rope out and fold in half and twist again. Repeat one more time (don't over twist on this step to avoid over marbling)
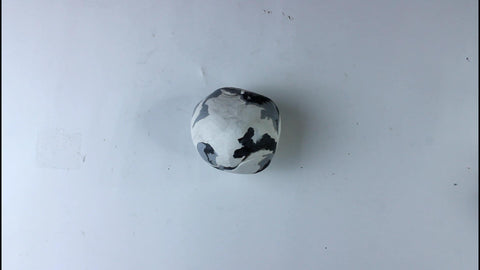
3) Create a ball with the rope and use a rolling pin to roll into a flat circle about a 1/4" thick. Decide which type of clock you would like: Circle (or other shape), Freeform or Table top.

4) If you're creating a circle clock, use a plate to cut a circle shape with a knife or freehand to cut any shape you would like. Or leave in a freeform shape.

5) To create a table top clock, use edge of book or table to create a large lip on bottom of the circle clock.
6) Use knife or straw to cut a circle in the middle of the clock for the clock hands. Be sure that the middle is no more than 1/4" thick, & make sure the hole is as wide as the clock mechanism so it will fit.
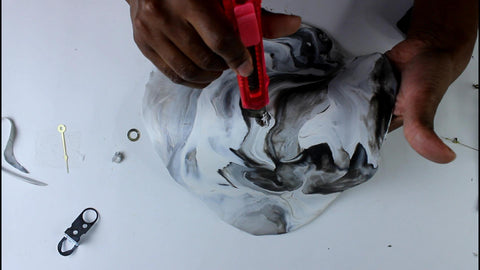
7) Put clock on baking sheet in oven at 275 for 15 mins. Remove from oven and let cool completely. Brush on gloss glaze and let dry. Add gold paint to accent sides of clock if desired.
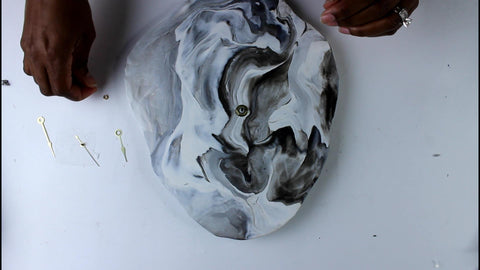
8) Attach clock mechanism and hands per box instructions. Enjoy your clock and post it on social media so we can see which one you made (tag us @homemadeluxe).



Leave a comment